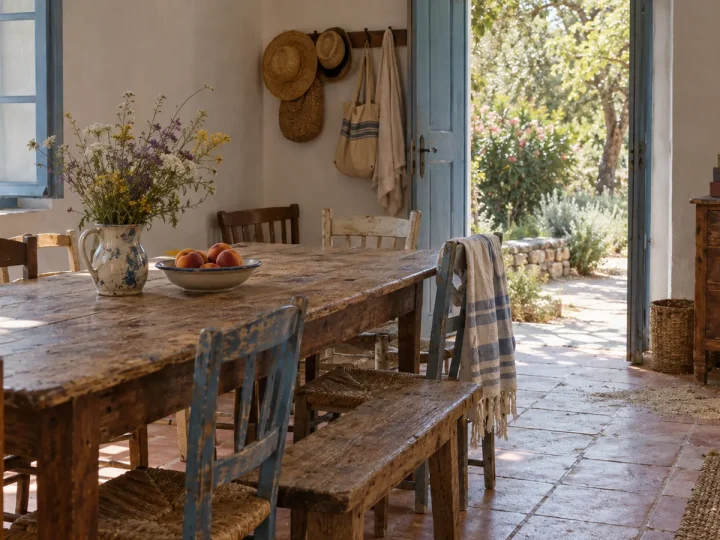
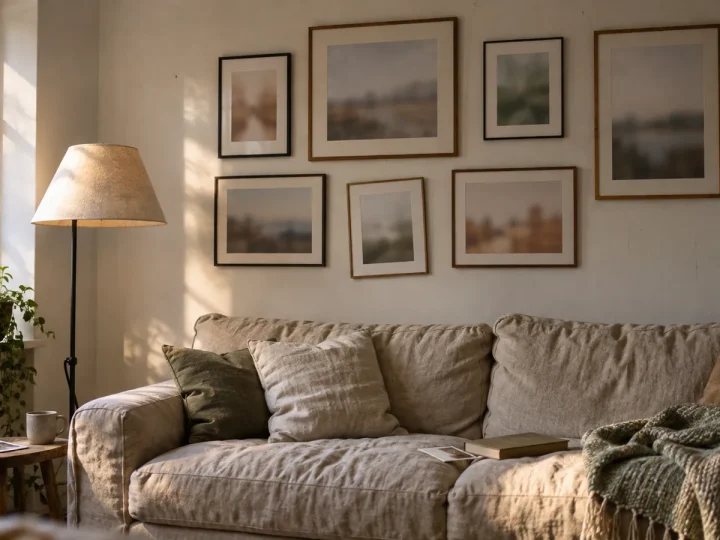
To create a great gallery wall, choose a common thread (your favourite places, a colour, a trip), lay the arrangement out on the floor, keep 5 to 8 cm between frames and place the centre of the whole group about 1.50 m from the floor. The rest is a matter of rhythm and patience. 🖼️
Here are the five easiest layouts, the step-by-step method for hanging without unnecessary holes, and our ideas for telling the story of your travels on a single wall.
Why create a gallery wall?
A single frame decorates a wall; a gallery tells a story. Bringing several pictures together lets you mix memories, fill a large wall without buying one very large piece, and change the arrangement over time by swapping a poster or adding a frame.
Which layout should you choose?
| Layout | How it works | Best for |
|---|---|---|
| The grid | Identical frames in rows and columns, evenly spaced | A graphic look, a series of places |
| The centre line | Frames of different sizes aligned on an invisible horizontal line | Above a sofa or a sideboard |
| The freeform gallery | Frames of different sizes and materials around a large central frame | A wall of memories, a bohemian style |
| The picture ledge | Frames standing and overlapping on a narrow shelf | People who change things often, renters |
| The staircase | Frames following the slope, at a constant height above the steps | A stairwell |
The grid
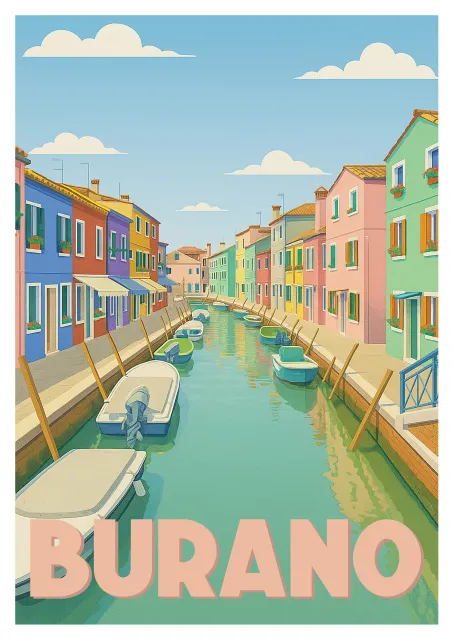
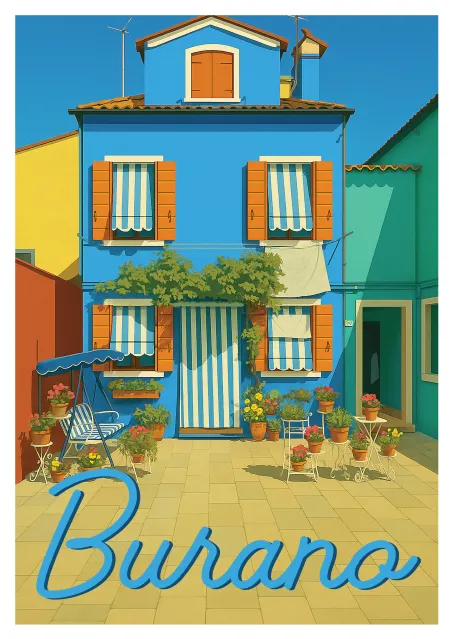
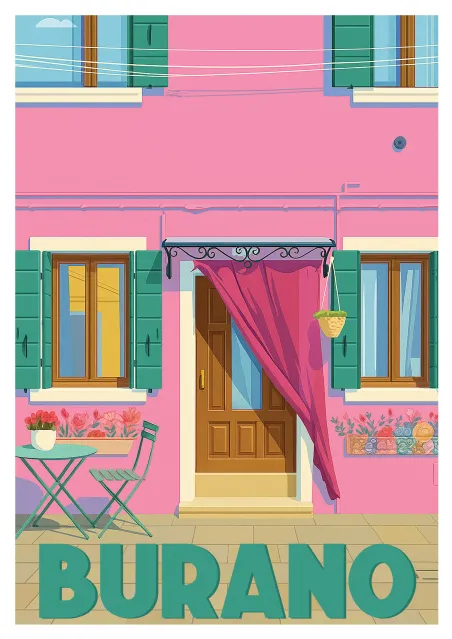
Four, six or nine identical frames, perfectly aligned: this is the neatest layout and the easiest to measure. It shows off a series of posters in the same size, for example three views of one town or three villages from the same region.
A series for a grid: Burano in three houses
The centre line
The frames are different sizes, but their centres (or their top edges) are aligned on the same horizontal line. It is the most elegant solution above a sofa: the group looks orderly without being rigid.
The freeform gallery
Start with a large frame placed slightly off-centre, then arrange the others around it, keeping the same gap between every edge. Mix sizes, materials (light wood, black metal, a gilded flea market frame) and subjects. It is the liveliest layout, but also the one that needs the most planning on the floor.
The picture ledge
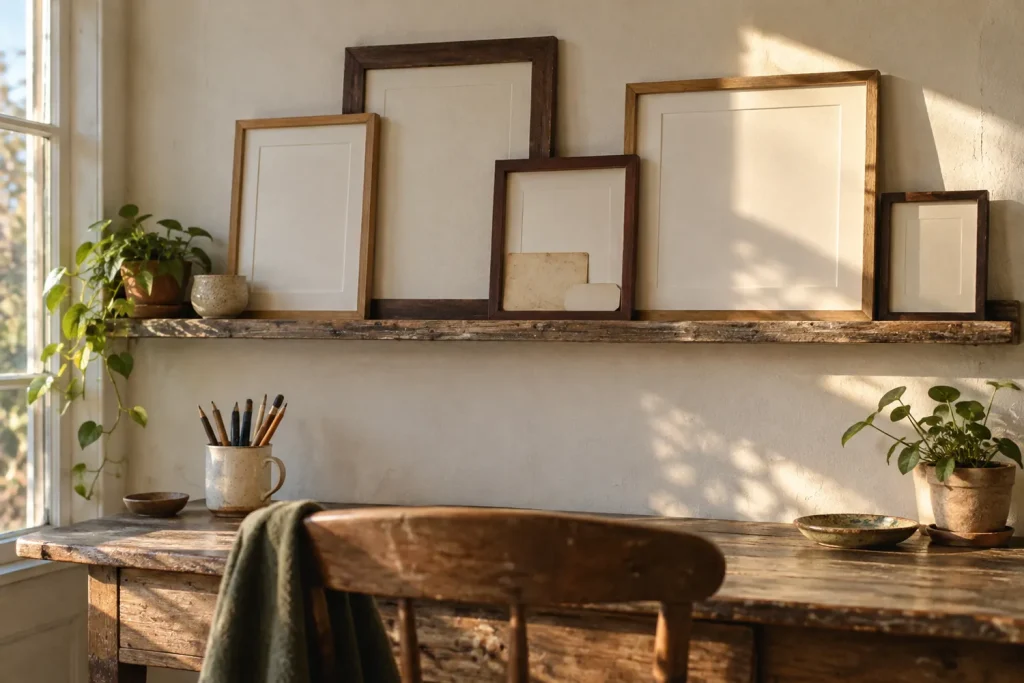
A narrow shelf with a lip, on which frames stand and slightly overlap. Two holes are enough for the whole wall, and the arrangement changes in seconds. The ideal solution if you rent or like changing posters with the seasons.
The staircase
In a stairwell, the frames follow the slope: keep the same height between each step and the bottom of the frame above it. A series of places that “climbs” with the stairs, from the seaside to the mountains for example, guides the eye.
How do you hang a gallery wall step by step?
- Choose the wall and measure it: above a piece of furniture, the group should be about two thirds of its width.
- Lay it out on the floor: arrange the frames on the floor or on a large sheet, take a photo and adjust until the balance feels right.
- Make templates: cut the shape of each frame out of kraft paper and mark the exact position of the hanger on it.
- Tape the templates to the wall: with masking tape, placing the centre of the group about 1.50 m from the floor, or 15 to 25 cm above the furniture. Live with it for a day or two.
- Drill through the paper: put the nails or plugs exactly where marked, then tear the templates off.
- Hang from the centre outwards: start with the largest frame and check the level at each step.
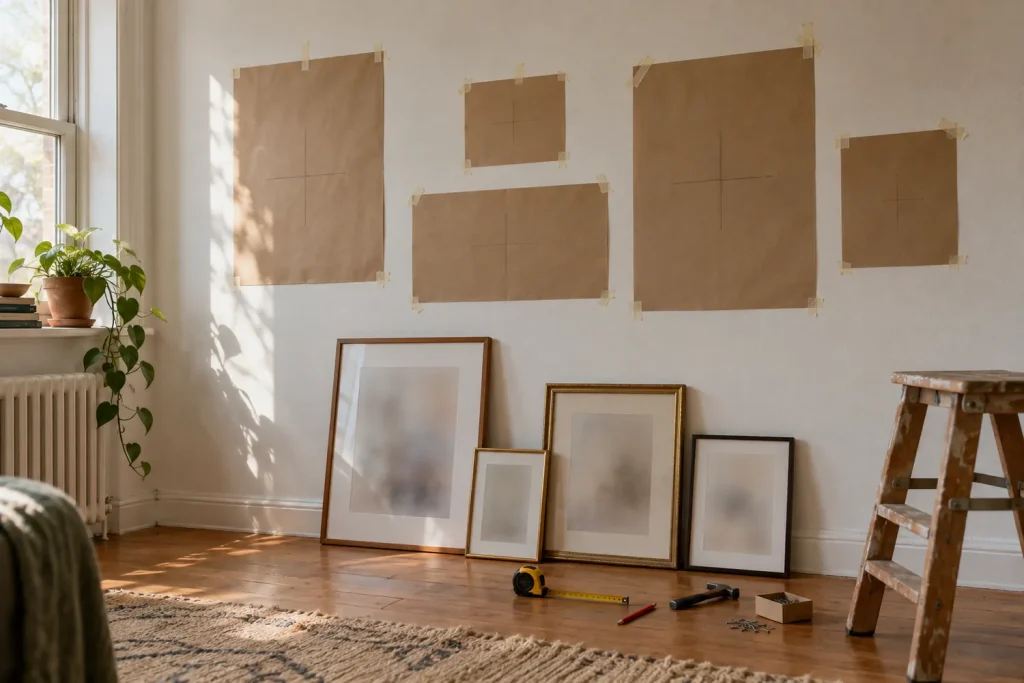
For height rules, fixings for each type of wall and choosing the right wall plugs, follow our full guide on how to hang a picture frame at the right height. 📐
How much space should you leave between frames?
| Situation | Recommended spacing |
|---|---|
| Between two frames | 5 to 8 cm, always the same |
| Above a sofa or sideboard | 15 to 25 cm between the furniture and the bottom of the frames |
| Centre of the group on a bare wall | About 1.50 m from the floor |
| Width above furniture | About two thirds of the width of the furniture |
Even spacing matters more than the size of the frames: it is what makes the group look planned. The smaller the frames, the tighter the spacing can be.
How do you tell the story of your travels on a wall?
A gallery wall is stronger when it has a common thread. A few ideas to give your gallery meaning:
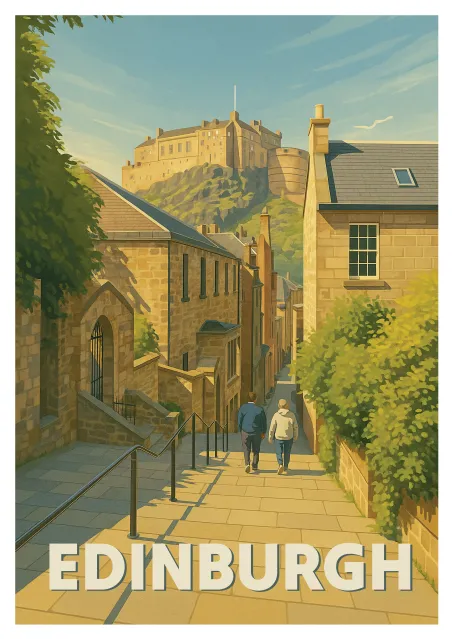
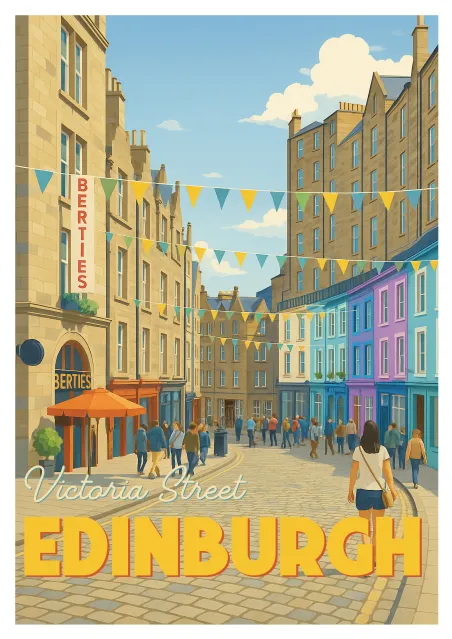
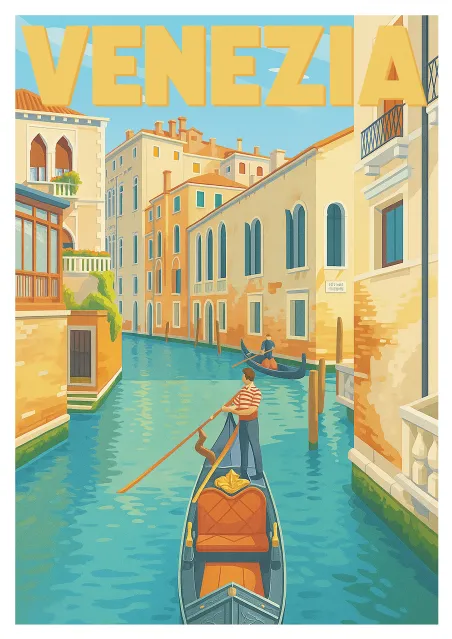
- One city from several angles: three views of Edinburgh or Venice, in identical frames.
- One trip, from start to finish: the stops of a road trip, in the order of the route.
- The places of your life: the town you grew up in, the one where you met, the one you live in now.
- A shared colour: posters of different places that share the same blue or the same ochre.
- Posters and keepsakes together: a poster of the place, surrounded by a framed photo, a train ticket and a postcard.
One city from three angles: Edinburgh

Which frames and sizes should you choose?
For a first gallery, stick to two or three sizes and one or two frame materials. Our posters come in A5 (14.8 x 21 cm, €15), A4 (21 x 29.7 cm, €19) and A3 (29.5 x 41.9 cm, €24). An A3 in the centre, surrounded by four A4s and two A5s, makes a balanced gallery about 1.20 m wide.
- Light wood or oak: soft and warm, it goes with almost everything.
- Thin black metal: more graphic, it makes the colours of the posters stand out.
- Flea market frames: gilded or weathered, to mix in sparingly in a freeform gallery.
- With or without a mount: a white mount gives a small poster room to breathe in a large frame.
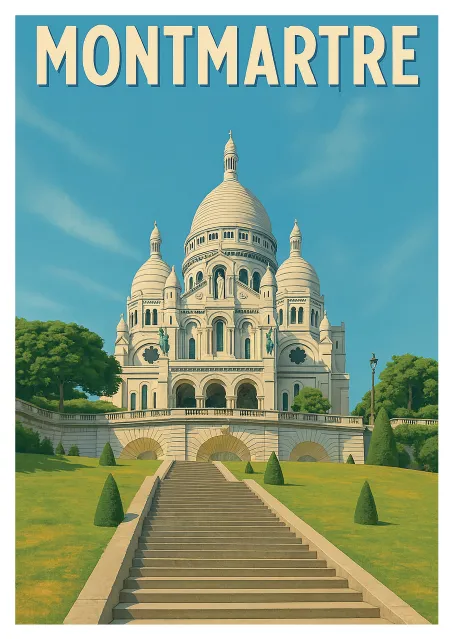
More posters to build your gallery
What mistakes should you avoid with a gallery wall?
- Hanging too high: the most common mistake. The centre of the group should stay at eye level.
- Random spacing: uneven gaps look messy, even with beautiful frames.
- Drilling before testing: paper templates save you unnecessary holes.
- Mixing too many styles: without a common thread, the gallery becomes a patchwork. Keep a theme or a palette.
- Filling the whole wall: leave some space around the arrangement so it can breathe.
Frequently asked questions
How do you make a gallery wall look harmonious?
Choose a common thread (a theme, a city, a colour), stick to two or three sizes and one or two frame materials, keep 5 to 8 cm between frames and place the centre of the group about 1.50 m from the floor.
How high should a gallery wall be above a sofa?
Leave 15 to 25 cm between the back of the sofa and the bottom of the frames, and make the group about two thirds of the width of the sofa.
How many frames do you need for a gallery wall?
Three frames are enough for a row; a real gallery starts at five to seven frames. Fewer well-spaced frames are better than a crowded wall.
How do you make a gallery wall without drilling?
Use a picture ledge (just two holes for the whole wall), removable adhesive strips rated for the weight of your frames, or a picture rail fixed at ceiling height with hanging wires.
A gallery that grows with you
A gallery wall is never really finished: every trip can add a place, every season can change a poster. Start small, with three frames and a common thread, and let the gallery grow. To find the places that will make it up, browse our city posters and our France posters.